Skim Coating Services for Property Owners
Visitors will learn about Skim Coating services offered by local contractors and how to compare providers in their area.
- - Residential property owners seeking smooth, durable interior surfaces for living spaces.
- - Commercial building managers needing consistent, high-quality skim coating for large-scale projects.
- - Contractors looking to connect with local pros experienced in seamless wall finishing and surface preparation.
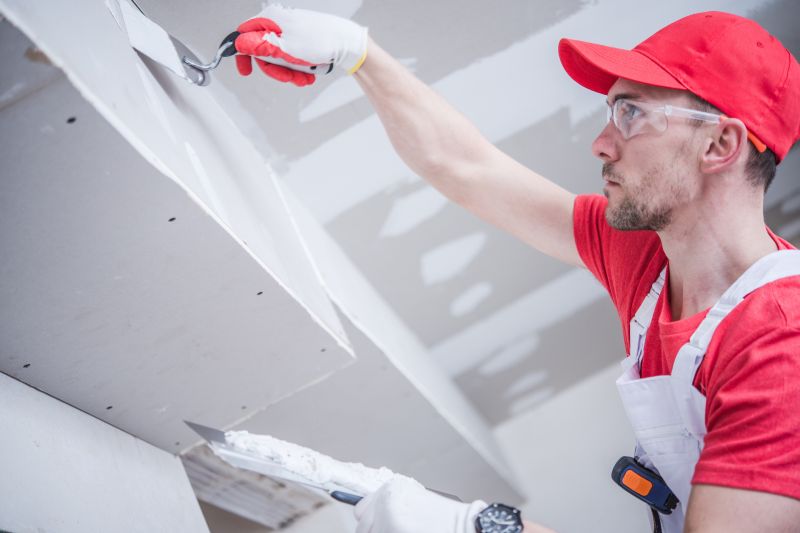
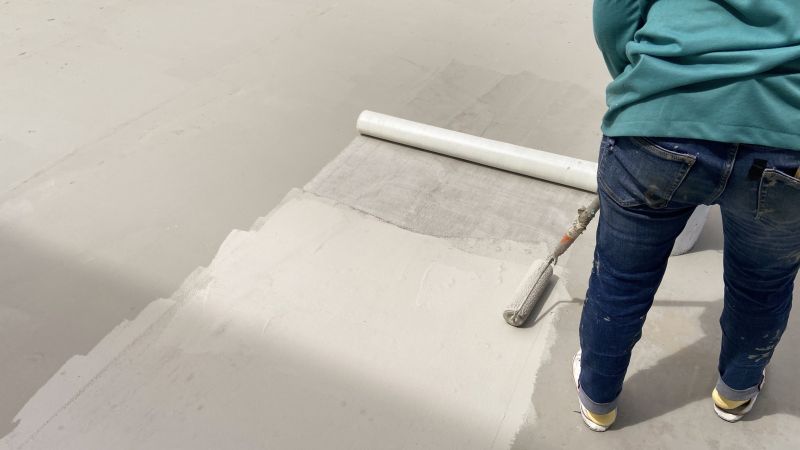
Skim coating services are commonly sought after by property owners looking to achieve a smooth, even surface on interior walls and ceilings. This process involves applying a thin layer of joint compound or plaster to fill in imperfections, cracks, and texture, resulting in a refined finish that enhances the overall appearance of a space. Local contractors specializing in skim coating are experienced in preparing surfaces, applying the material evenly, and finishing with a polished look. Homeowners or business owners often turn to these professionals when updating or renovating rooms to create a clean, professional backdrop for paint or other wall treatments.
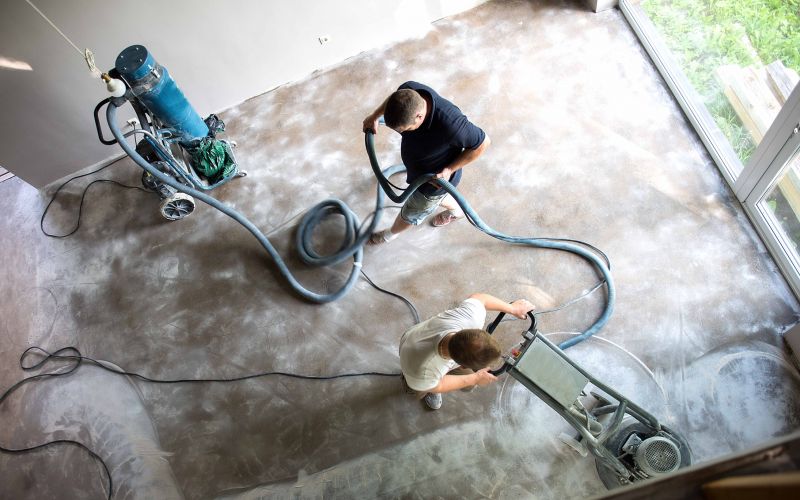
Connecting with skilled service providers for skim coating involves finding local pros who understand the requirements of different surfaces and environments. These contractors typically work on a variety of projects, from small repairs to larger renovation jobs, ensuring that surfaces are properly prepared and finished to meet desired standards. Property owners can expect these local specialists to handle the work efficiently, providing a smooth, durable surface that can improve the aesthetic and longevity of interior walls. Whether updating a single room or multiple spaces, local pros are equipped to deliver quality results tailored to specific project needs.
This guide provides helpful information to understand skim coating services and what to consider when planning a project. It assists in comparing local contractors and connecting with service providers who handle the work. The focus is on equipping visitors with the basics to make informed decisions about their skim coating needs.